

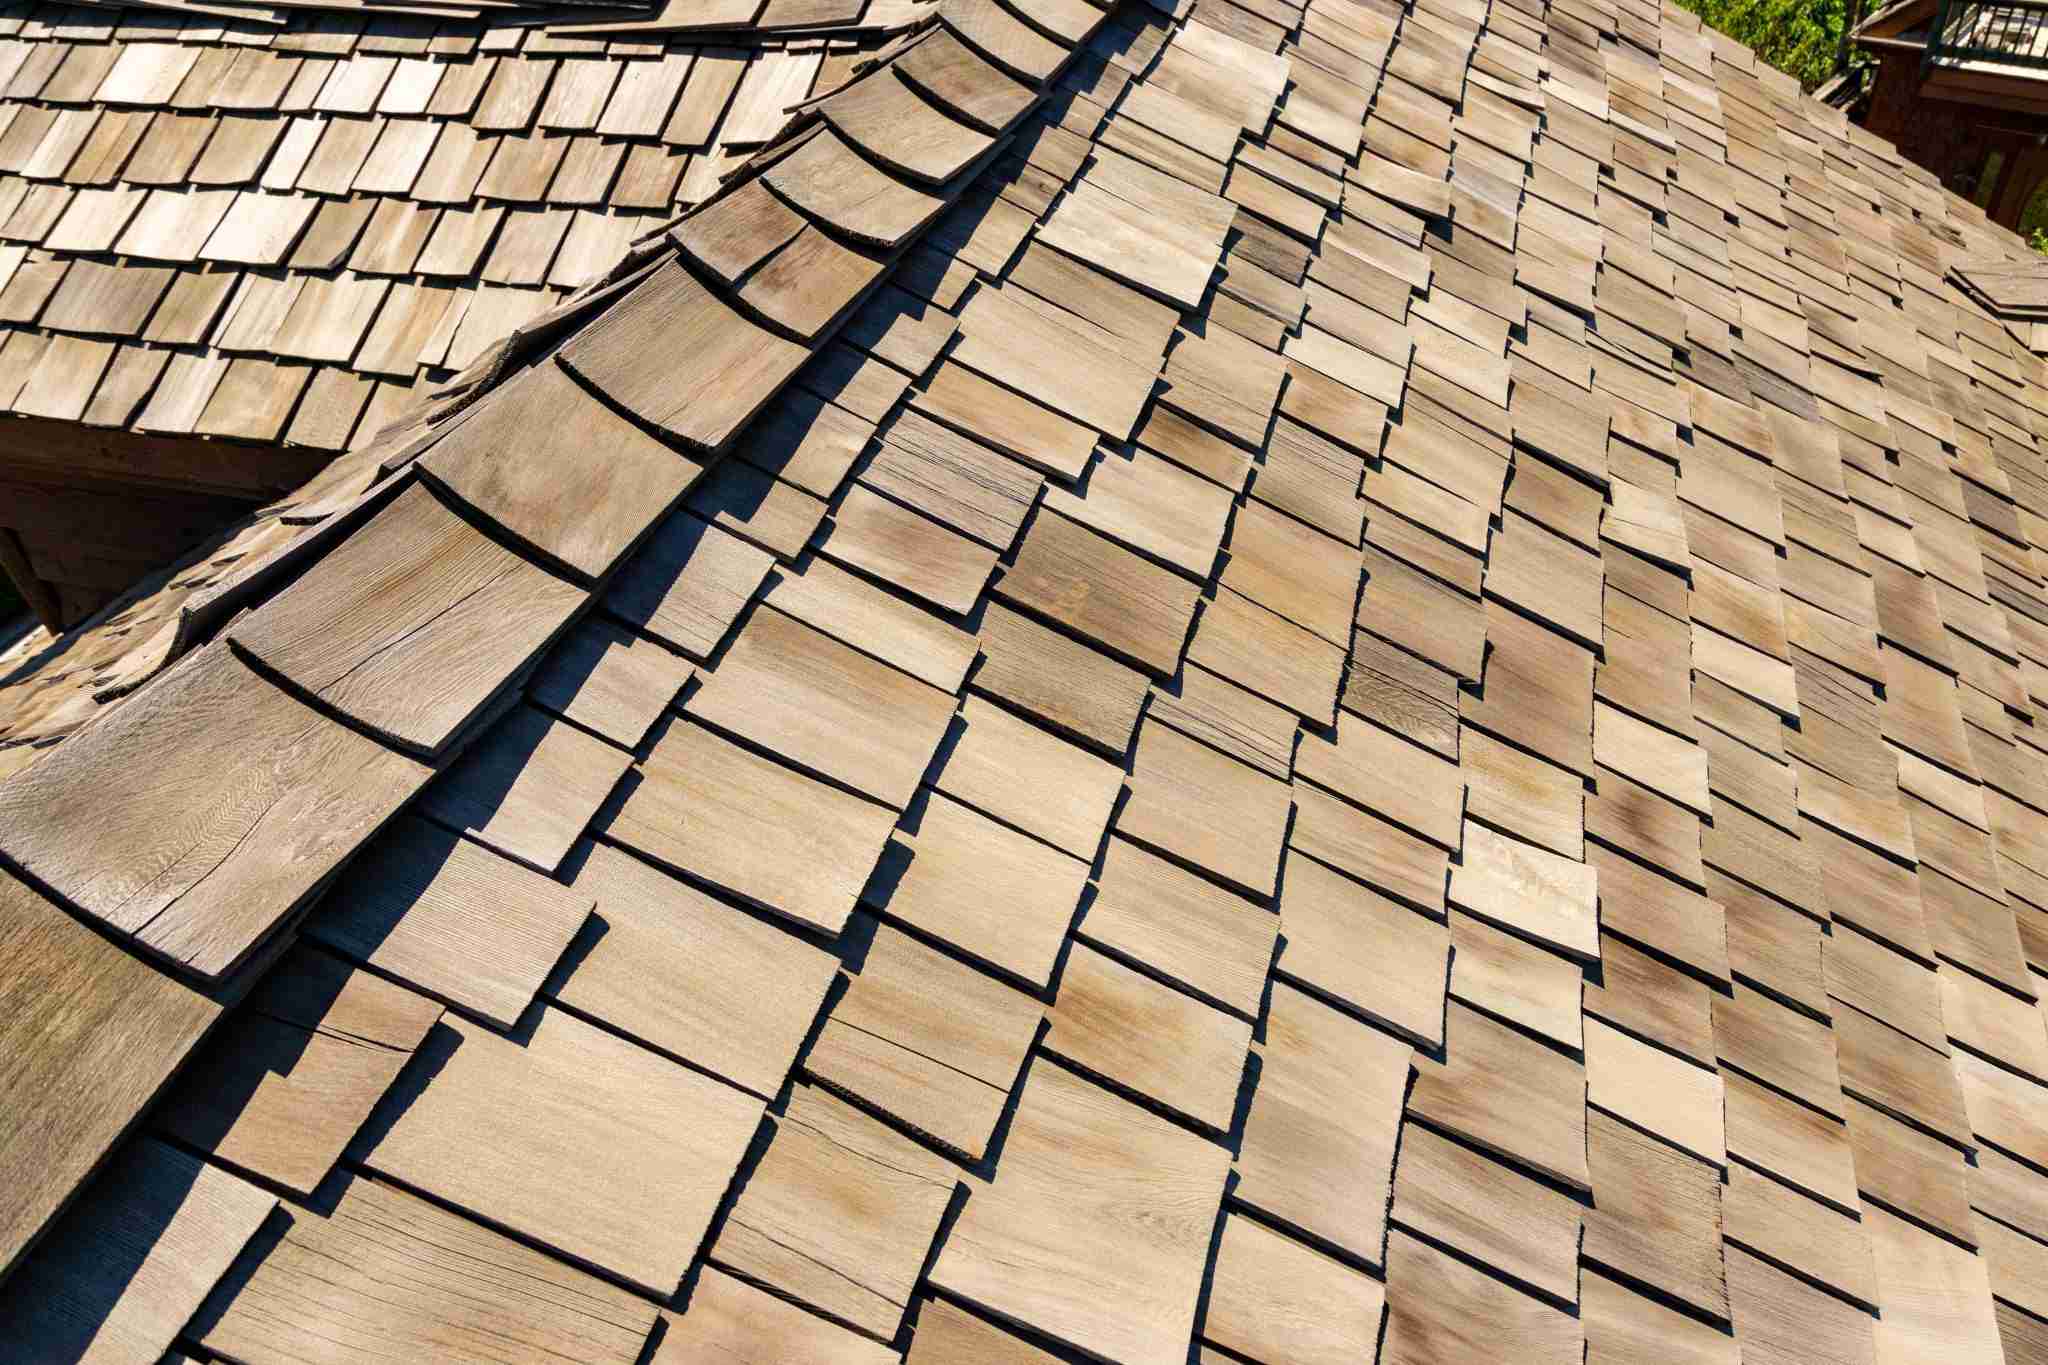
Why valleys matter—and why estimates here go wrong
Roof valleys are the busiest water‑handling features on any steep‑slope roof. Every drop that hits two adjoining planes is channeled into that “V,” so any repair in a valley must be done exactly right. For cedar shake systems, the Cedar Shake & Shingle Bureau (CSSB) publishes the standard of care for valley repairs. Unfortunately, a frequent estimating error by insurance carriers misreads those instructions, leading to under‑scoped work, underpayment, and repairs that are prone to leak later.
This article explains the mistake, shows what the CSSB actually requires, and clarifies why the correct method needs more labor and materials than many adjuster estimates allow.
The carrier’s common (and incorrect) take
Here’s the pattern many contractors and homeowners see after a storm claim: the adjuster approves a narrow “strip” removal along the valley—often 2 feet on each side of the valley, from eave to ridge, running parallel to the valley’s centerline. In other words, two long lines that track the valley from bottom to top, like taping off a racetrack lane.
That sounds tidy but it’s wrong for wood shakes. It’s like trying to fix a zipper by only working on a 2‑inch segment; you’ll never re‑mesh the teeth and lock out water across the whole length.
What the CSSB actually requires (the right way)
The CSSB’s Valley Repair—Cedar Shakes Technical Bulletin lays out a very specific sequence that looks nothing like two parallel lines shadowing the valley:
- First, remove shakes for “a minimum of 2 feet on each side of the valley at the eave.” The bulletin adds that the longer the valley, the wider the removal area—so this is a starting dimension, not a fixed strip for the whole run. Cedar Shake and Shingle Bureau
- Next—and this is the step adjusters often miss—“Start by striking a line from the 2 foot marks at the eaves perpendicular to the eave and continuing to the ridge.” The CSSB even notes “This line may need to taper out a little for proper nailing.” Cedar Shake and Shingle Bureau
What does that look like? Those cut lines are perpendicular to the eave, not parallel to the valley. Because valleys usually run diagonally, the distance from the valley to those perpendicular cut lines increases upslope. The result is a broad, wedge‑like/rectangular removal area that effectively widens as you move toward the ridge—exactly what’s needed to rebuild the valley assembly correctly. The bulletin itself underscores this outcome by stating the longer the valley, the wider the removal area. Cedar Shake and Shingle Bureau
Why the correct method needs that much space
This isn’t about removing more shakes for the sake of it. The widened work area is required to rebuild the weather‑responsible layers and to fasten new shakes correctly.
1) Underlayment (felt) and valley metal must be replaced full‑width.
When valley metal is replaced, the CSSB states the underlayment “needs to be replaced and should be at least 4 feet wide, extending out 2 feet from the center line of the valley for the entire length of the valley.” You can’t install (or tie in) a 4‑foot‑wide felt correctly if the removal area is only a narrow “shadow” alongside the valley. Cedar Shake and Shingle Bureau
2) Proper tie‑in to existing felt requires overlap and alternation.
To prevent water tracking under laps, the CSSB directs contractors to leave 2 feet of the original interlay felt and then tie into the existing felt by alternating one new row over and the next new row under the original felt, repeating so no two adjacent laps line up; laps should be about 2 feet. The “parallel‑strip” method rarely leaves room to stage those under/over laps and guarantee shingle‑style water flow. Cedar Shake and Shingle Bureau
The CSSB’s valley diagrams also show the eave protection and valley felt lapped so the eave area has three levels of protection (valley felt, eave felt, and metal)—again, something that takes room to do right. Cedar Shake and Shingle Bureau
3) Correct nailing demands offset space.
Shakes can’t be nailed into old felt or into the danger zone near the valley centerline. The bulletin explicitly notes that the perpendicular cut line “may need to taper out a little for proper nailing,” and its application graphic reminds installers to keep nails well away from the center of the valley. If the removal limits track the valley, nail lines end up too close to the metal or in compromised substrate. Cedar Shake and Shingle Bureau
What goes wrong when the “parallel strip” estimate is used
If a crew follows an under‑scoped estimate that treats the valley as a constant 2‑foot strip on both sides from bottom to top, several failures are predictable:
- Leaks at laps: There isn’t enough room to alternate felt laps (one under, one over) and keep them offset; water will find those seam pathways. Cedar Shake and Shingle Bureau
- Inadequate underlayment width: A 4‑foot valley felt running the entire length can’t be installed and integrated properly within a narrow opening; seams are forced into the wrong places. Cedar Shake and Shingle Bureau
- Bad nailing / fastener pull‑outs: Without the CSSB‑recommended taper and offset, nails land too close to the valley or in old, weakened felt layers. Cedar Shake and Shingle Bureau
- Non‑conforming repair: Deviating from the CSSB bulletin means the work doesn’t meet the manufacturer bureau’s minimum repair standard—leaving owners with a repair that may not pass muster. Cedar Shake and Shingle Bureau
- Costly do‑overs: When leaks appear, the valley must be opened again to create the room the CSSB required in the first place—costing the owner downtime and money that should’ve been part of the original scope.
Bringing it together: the right scope for a cedar shake valley repair
A compliant scope will include, at minimum:
- Removal of shakes at least 2 feet each side at the eave, with perpendicular cut lines running to the ridge (and tapering as needed). The practical effect is a widening repair area upslope. Cedar Shake and Shingle Bureau
- Full‑length valley underlayment at least 4 feet wide, integrated with eave protection and valley metal per CSSB details. Cedar Shake and Shingle Bureau
- Tie‑in of new interlay felt to existing felt using alternating over/under rows with offset, 2‑foot laps and no aligned seams; do not fold old felt back over shakes. Cedar Shake and Shingle Bureau
- Replacement of valley metal and proper fastening that keeps nails well away from the valley centerline. Cedar Shake and Shingle Bureau
These steps aren’t “nice‑to‑haves”—they are the minimums the CSSB publishes for valley repairs on cedar shakes.
What homeowners and contractors should do next
For Homeowners:
If your insurance estimate shows a narrow, parallel “2 feet each side” valley strip from eave to ridge, ask your contractor to review it against the CSSB’s Valley Repair—Cedar Shakes Technical Bulletin. A qualified local cedar specialist can document why the correct perpendicular‑line layout, wider removal area, 4‑foot felt, and proper tie‑ins are required to keep your roof watertight for the long term. If the carrier’s scope is short, request a supplement with the bulletin excerpts attached. Cedar Shake and Shingle Bureau
For Contractors:
Hold carriers to the published standard. Reference the CSSB bulletin language verbatim in your supplement: quote the “minimum of 2 feet on each side of the valley at the eave,” the instruction to “strike a line… perpendicular to the eave… to the ridge,” and the 4‑foot‑wide underlayment requirement. Then explain why those steps matter for felt tie‑ins and nailing. Clear, technical documentation rooted in CSSB guidance is the fastest path to an accurate, conforming scope. Cedar Shake and Shingle Bureau
Insurance estimates that mirror the valley’s centerline with two narrow, parallel strips are misreading the CSSB. The correct repair follows perpendicular layout lines from the 2‑foot marks at the eave, yielding a wider working area upslope so you can install 4‑foot valley felt, integrate eave protection and metal, alternate felt laps properly, and fasten shakes where they belong. That’s the standard—and it’s the only way to fix a cedar shake valley you can trust. Cedar Shake and Shingle Bureau
Primary source: Cedar Shake & Shingle Bureau, Technical Bulletin: Valley Repair Cedar Shakes (2024‑05‑22). Cedar Shake and Shingle Bureau
Ready to hand off your supplements? We are an outsourced supplemental estimating service for roofing companies. See how EOD’s roofing supplement services work, check our pricing (10% of the increase — no increase, no fee), or get in touch.
